Your first 30 minutes: setup checklist
Set up WiseCost in two stages: payroll frequency, time entry form, compliance preset and team invitations first, then pay and your first labor distribution.
To set up WiseCost, first choose your payroll frequency, the time entry form and a compliance preset, then invite your team so they can start logging hours. After that, enter pay, confirm your posting account and run your first labor distribution. You do not need to do it all at once: stage 1 gets your team tracking time today, stage 2 prepares your first journal entry.
Who can do this: an Administrator.
Stage 1: start tracking time
- Connect QuickBooks Online. See Connect WiseCost to QuickBooks Online. You can also start with local employees and classes and connect later.
- Set your payroll frequency. Go to Company Setup → Company settings → Payroll and choose weekly, biweekly, semimonthly or monthly, and the start date. The start date cannot be changed once it is saved, so check it twice. Details in Payroll frequencies and periods.
- Choose what time is charged to. In Company Setup → Company settings → Time Tracking, pick the Contract field: Project or Class. Then choose which fields employees see. Details in Configuring the time entry form.
- Enable internal time. On the same tab, under Internal / Indirect Time, choose the accounts your team can charge PTO, holiday and overhead to.
- Apply a compliance preset. In Company Setup → Company settings → Compliance, click DCAA or Uniform Guidance and review the changes it lists. See Compliance presets and settings.
- Assign approvers. In Company Setup → Employees, set an Approver and, if you want, a Backup approver for each employee.
- Invite your team. See Inviting your team, and send them the For employees guide.
- Log your own time, if you work on contracts. See Logging your own hours as an admin.
Your team can now log hours by contract and cost category.
Stage 2: prepare your first labor distribution
- Enter pay for each employee. In Company Setup → Employees, enter each person's pay per period or hourly rate. You can also import the real payroll of the period later, from Gusto, ADP or Paychex.
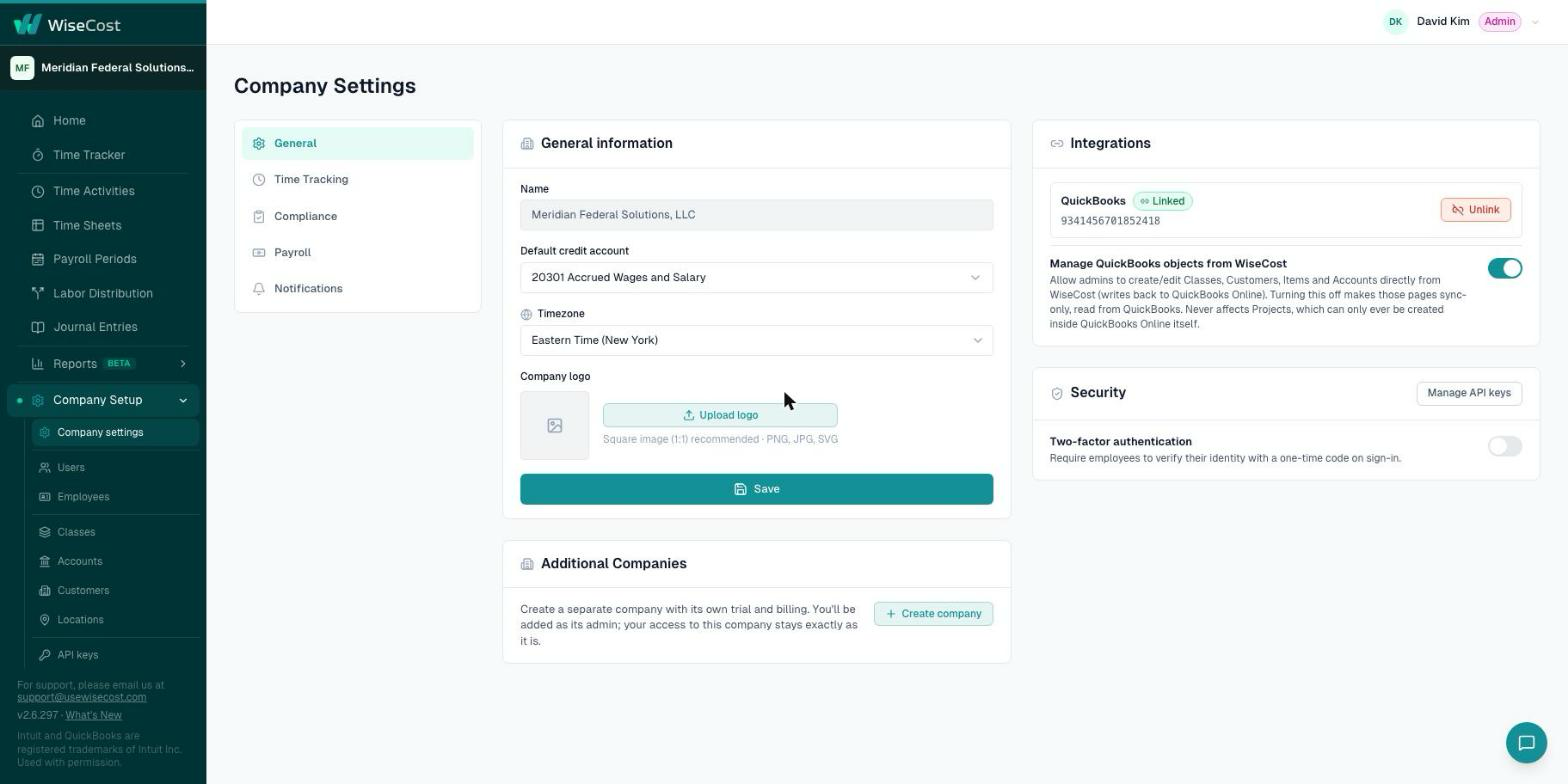
- Confirm the credit account. In Company Setup → Company settings → General, check the Default credit account. It is the account that balances the journal entry.
- Assign account roles. In Company Setup → Accounts, give each account its role so the Indirect Rate report can calculate fringe, overhead and G&A. See Assigning account roles.
- Run Labor Distribution. Once the period's timesheets are approved, follow Running Labor Distribution in WiseCost.
Common questions
Can I change the payroll start date later?
No. The start date of a frequency is fixed once saved. If it is wrong, write to support@usewisecost.com.
Do I have to finish stage 2 before my team logs time?
No. Stage 1 is enough for timekeeping. Stage 2 is only needed before your first labor distribution.
Further reading from the WiseCost blog
Setting Up Your Accounting System for Your First Cost-Type Government Contract
A seven-step guide to setting up a DCAA-ready accounting system before your first cost-type contract — chart of accounts, timekeeping, labor distribution, and policies.
Reviewed by a CPA
How to Make QuickBooks Online DCAA-Compliant: A Step-by-Step Guide
You already run on QuickBooks Online and just landed — or are chasing — a cost-type government contract. Here's how to make it DCAA-compliant step by step, without ripping out your books for an ERP.