Logging your hours and submitting your timesheet
Log your hours in WiseCost entry by entry or in the weekly Timesheet Summary grid, then send your timesheet for approval when the payroll period ends.
How your time is organized
Every block of time you record is a time activity. Time activities are grouped into a timesheet, and each timesheet covers one payroll period. Your timesheet is created automatically the first time you log an activity in a period. Log your time daily. It keeps your records accurate and your timesheet audit-ready.
1. Start a new time activity
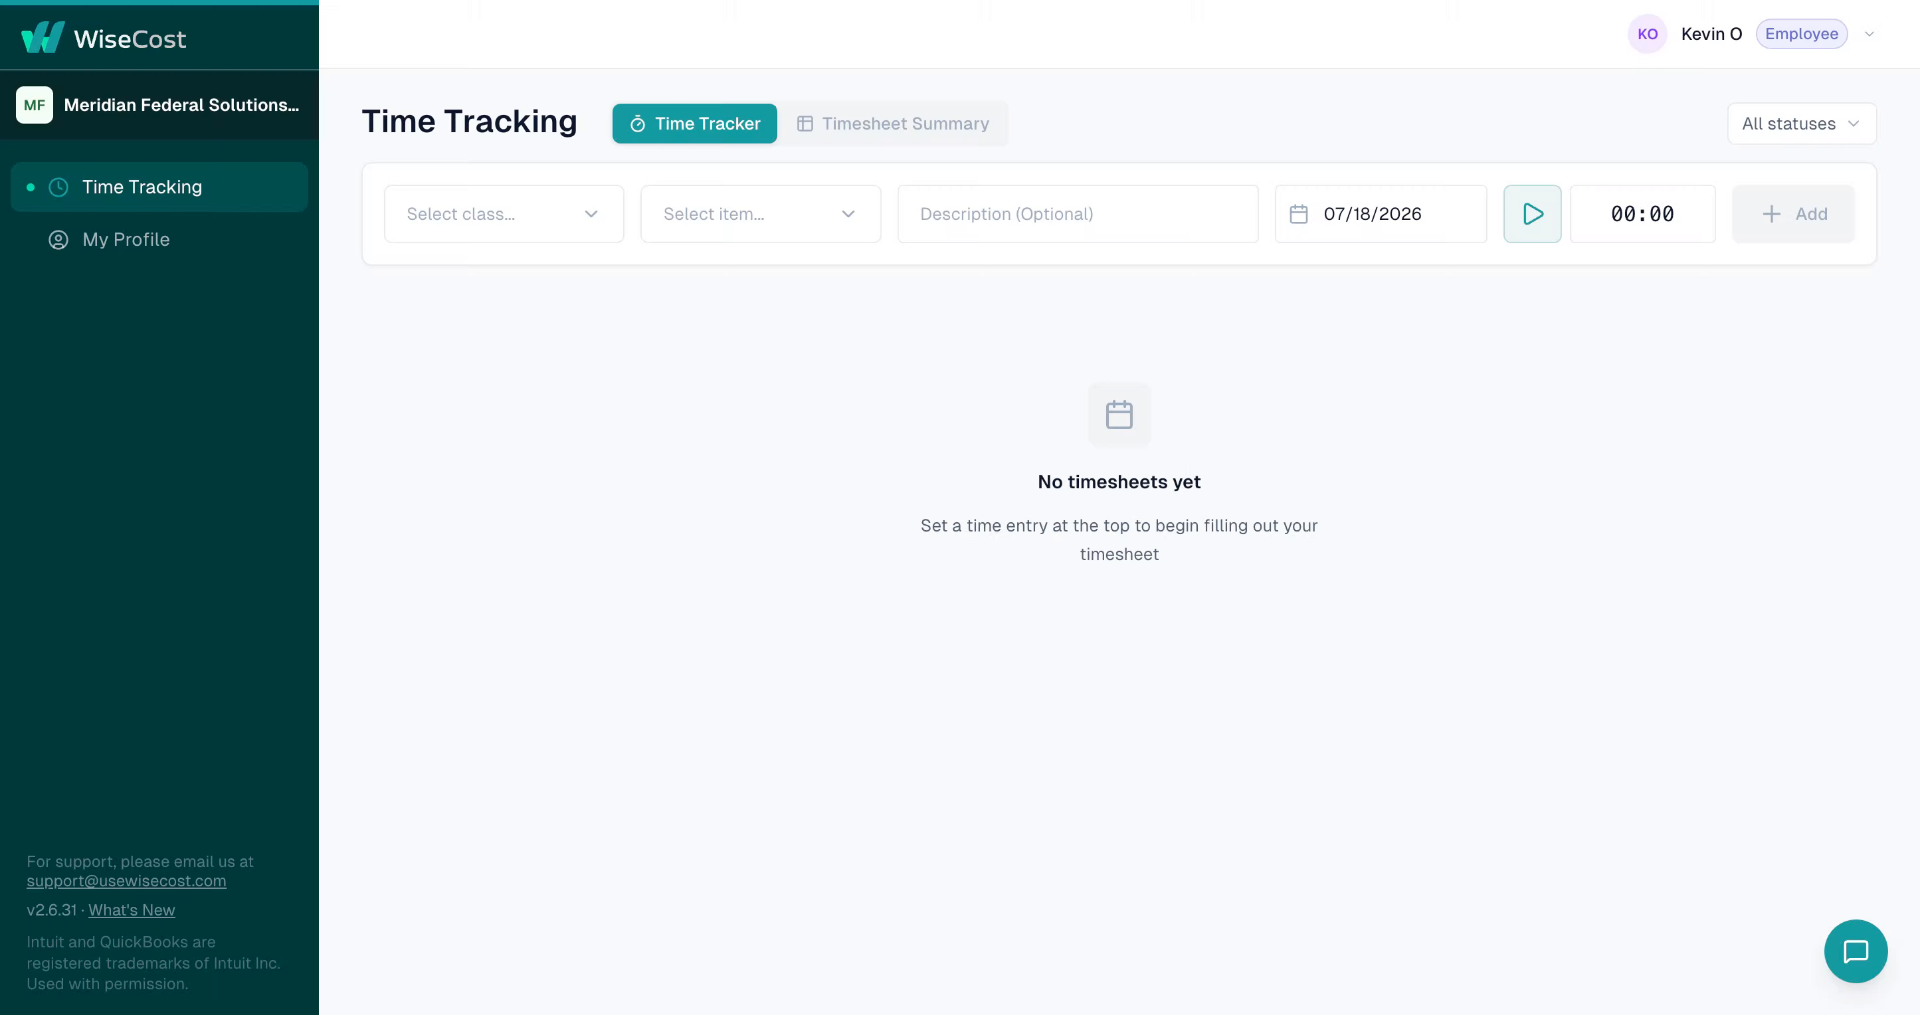
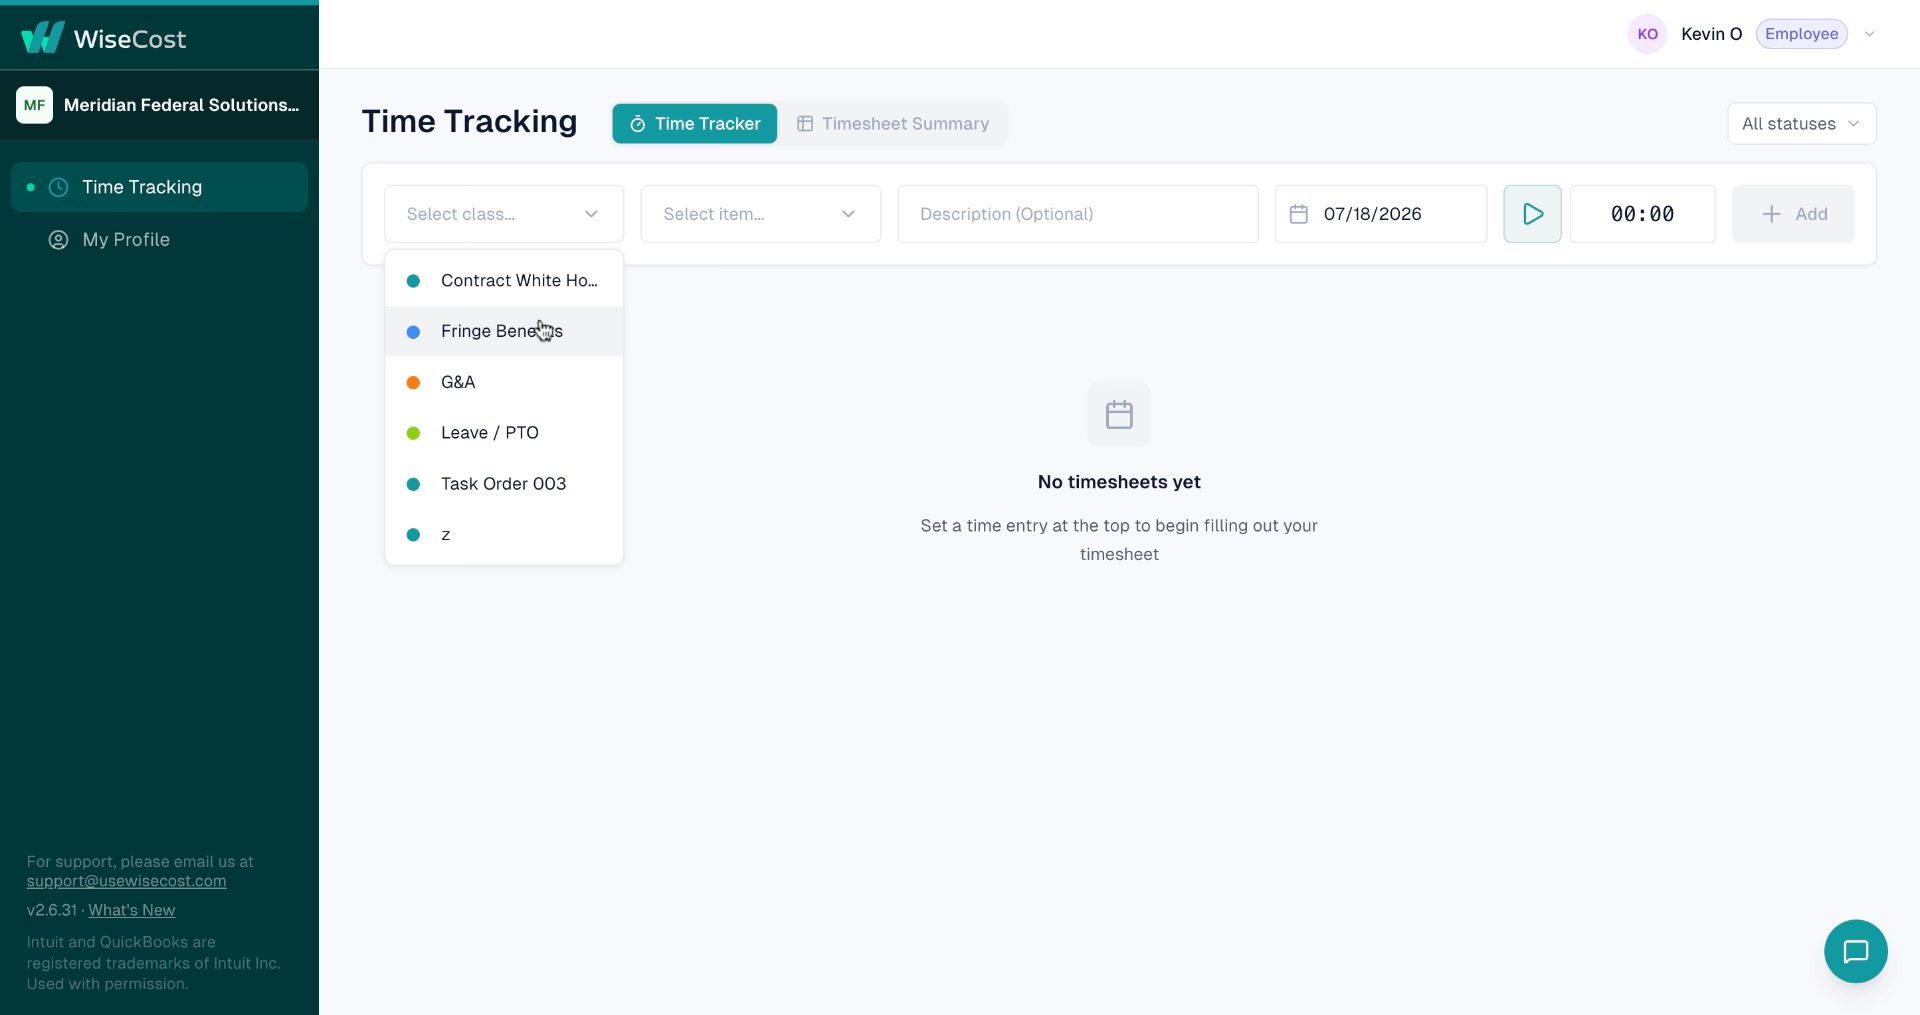
At the top of the Time Tracking screen, select the class. This is the contract or cost category you're working on. You'll only see the ones assigned to you.
2. Add the details
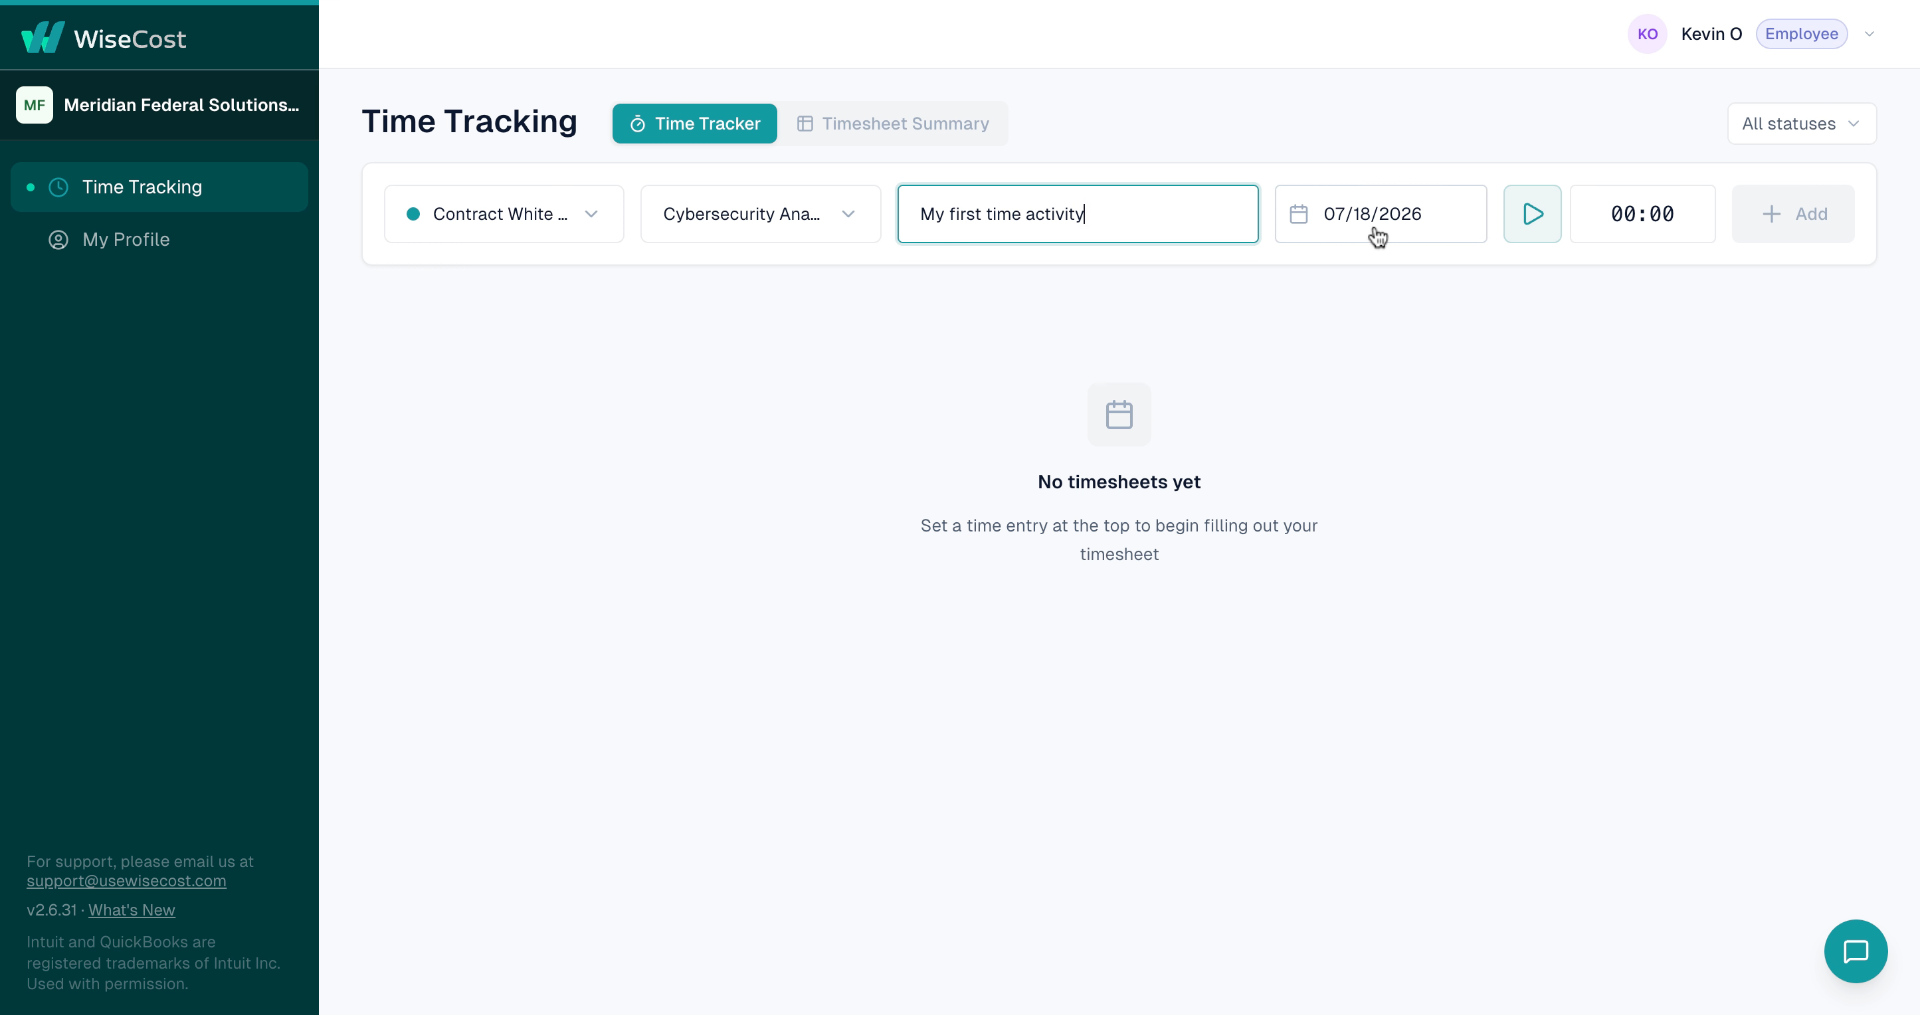
Depending on your company's setup, you may also select an item (for example, your role on the contract), a location, and add a short description of the work. If Location is required and you leave it blank, WiseCost won't let you save the entry. See "Location is required" when logging time.
3. Record the time
Pick the date, then either press play to let the timer count as you work, or type the duration directly and click Add. Use the timer when you're working right now; type the hours when you're logging at the end of the day.
4. Your activity is on the timesheet
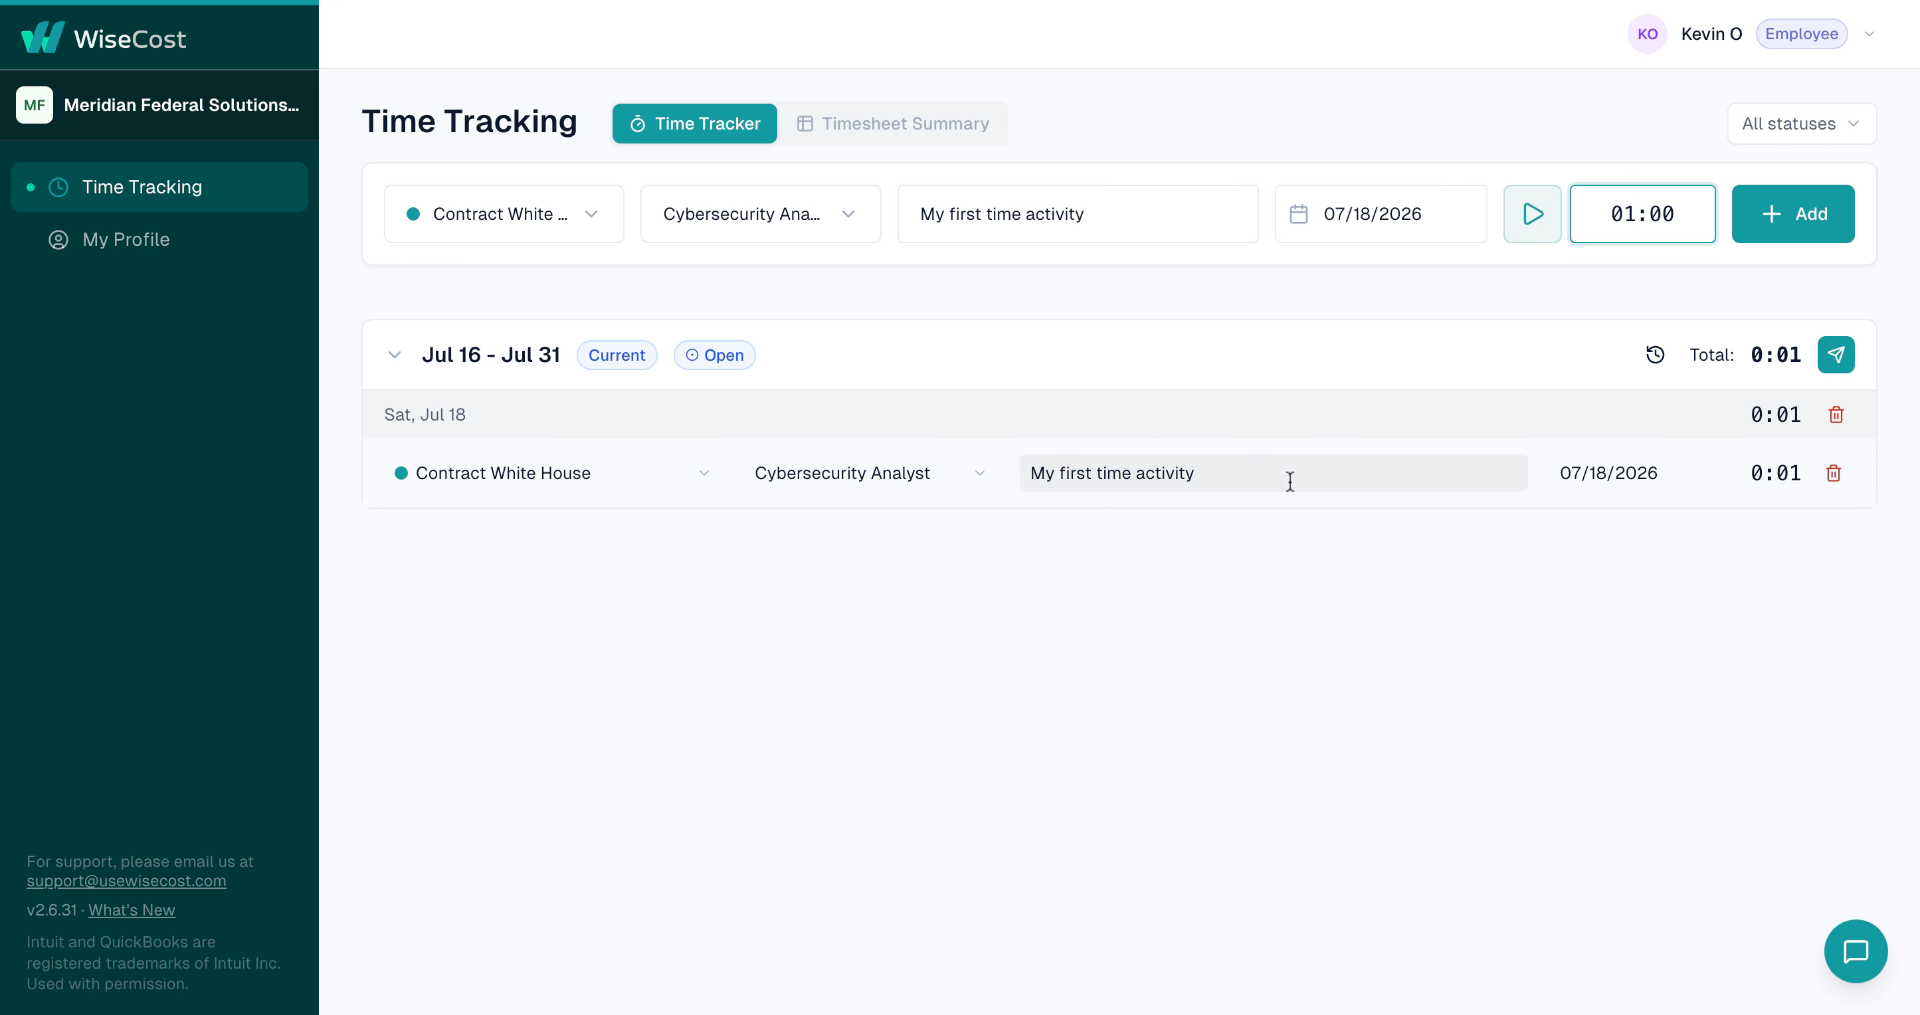
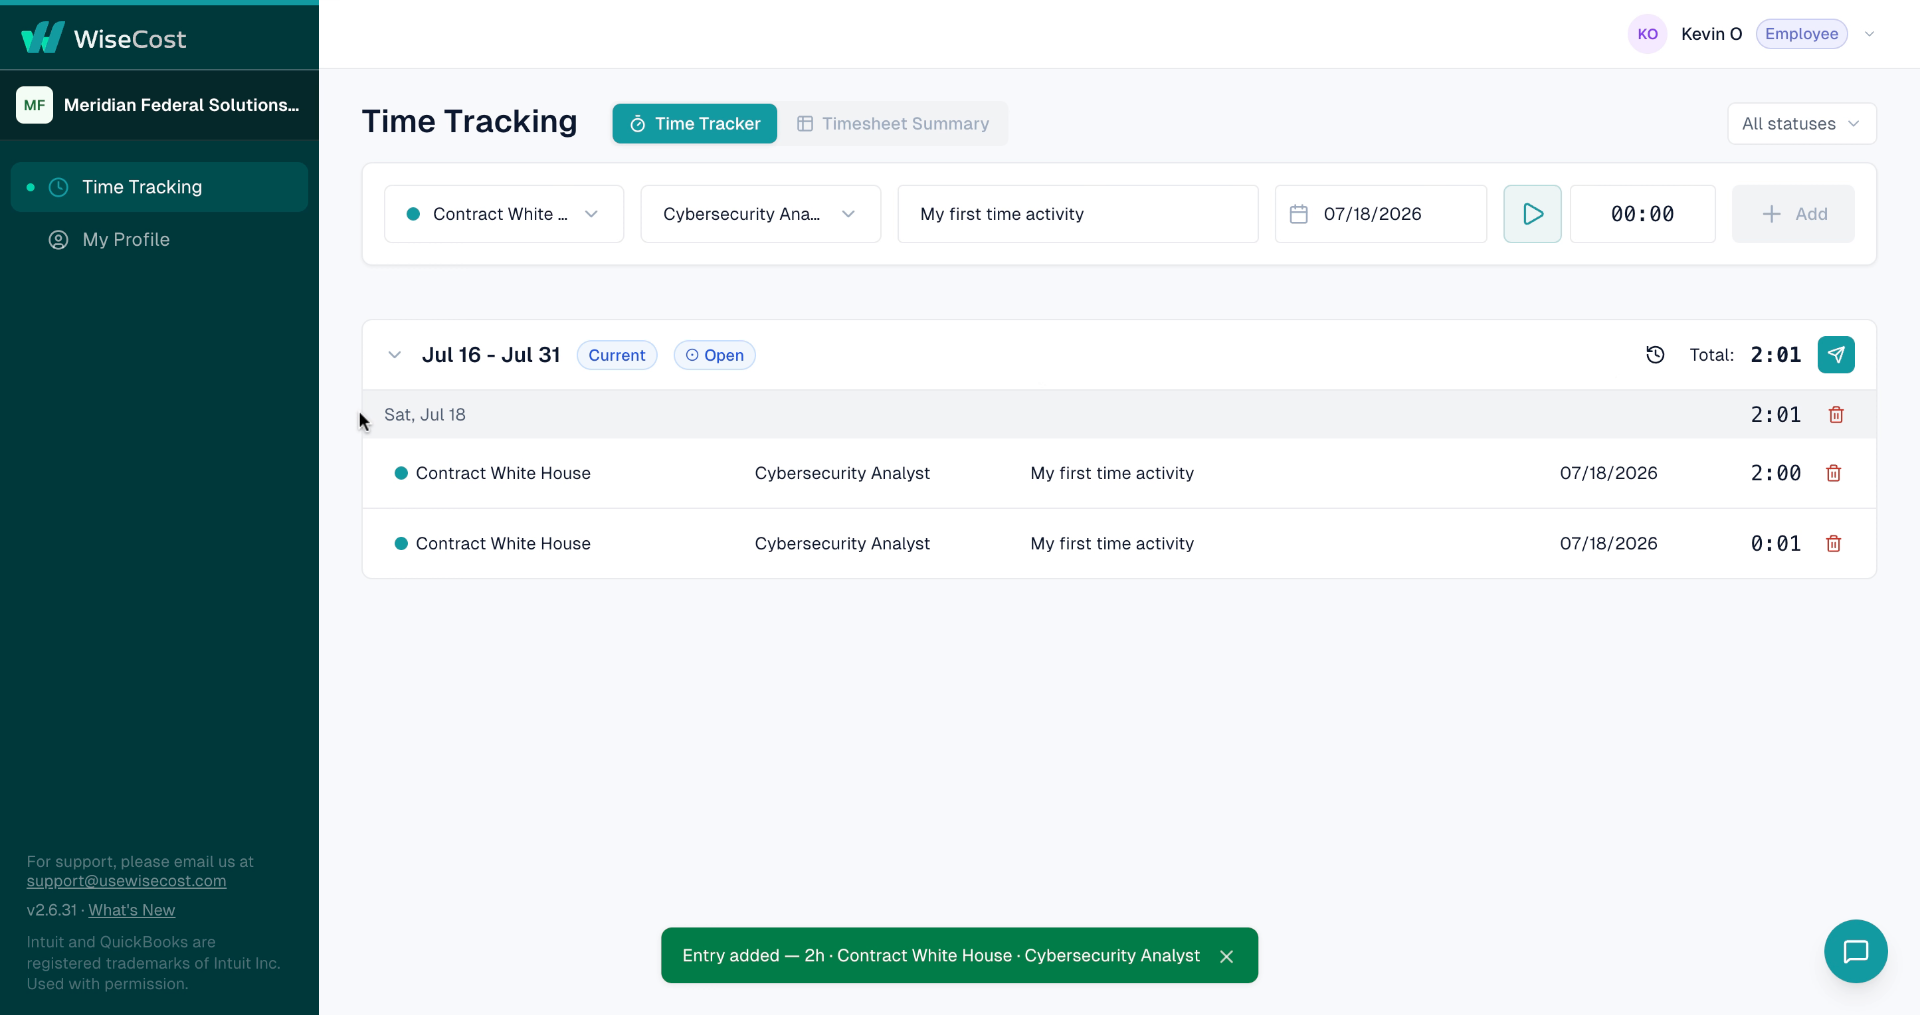
The activity appears under the current payroll period, and your timesheet is created with the status Open. While it's Open, you can edit or delete any activity.
Prefer a weekly view? Use the Timesheet Summary
The Timesheet Summary tab shows a grid of days and classes. Type hours directly into each cell, handy when you're filling in several days at once or don't need per-activity detail.
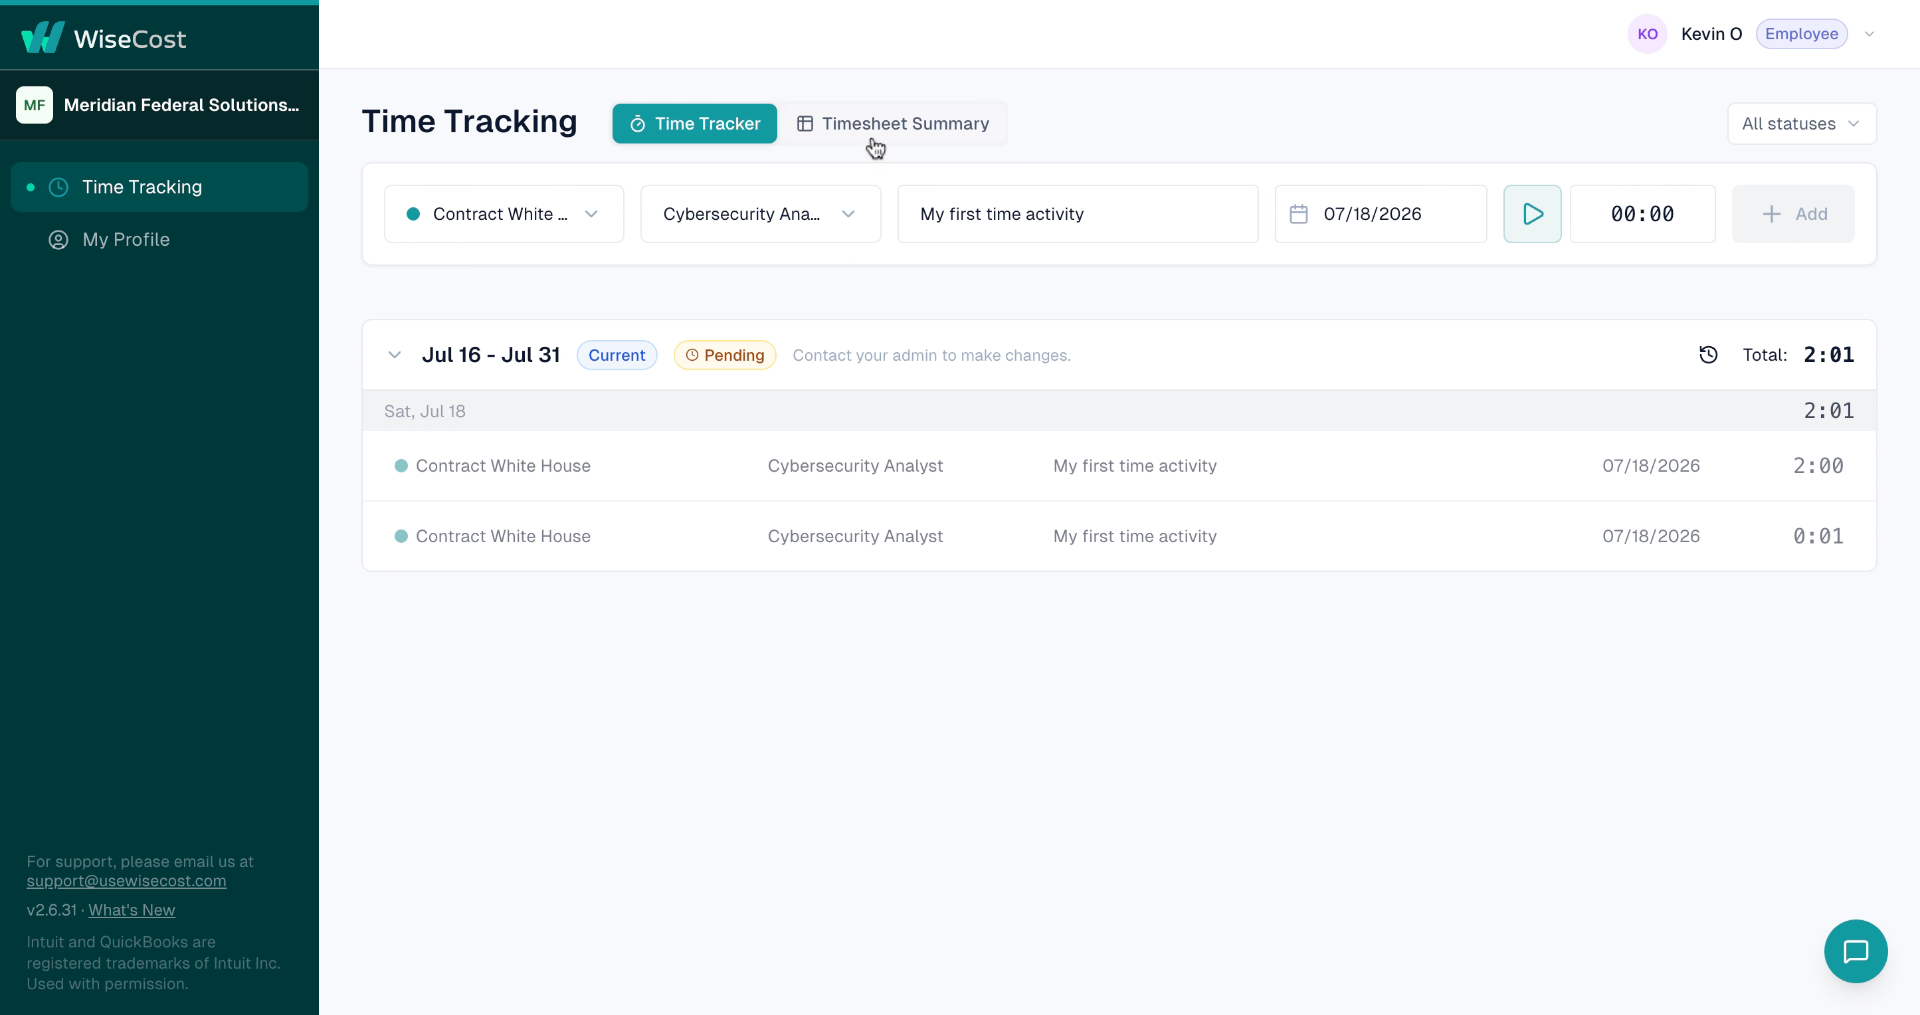
Submit your timesheet
When your payroll period ends, send your timesheet for approval. Click the send icon on the timesheet (you can also send from the Timesheet Summary).

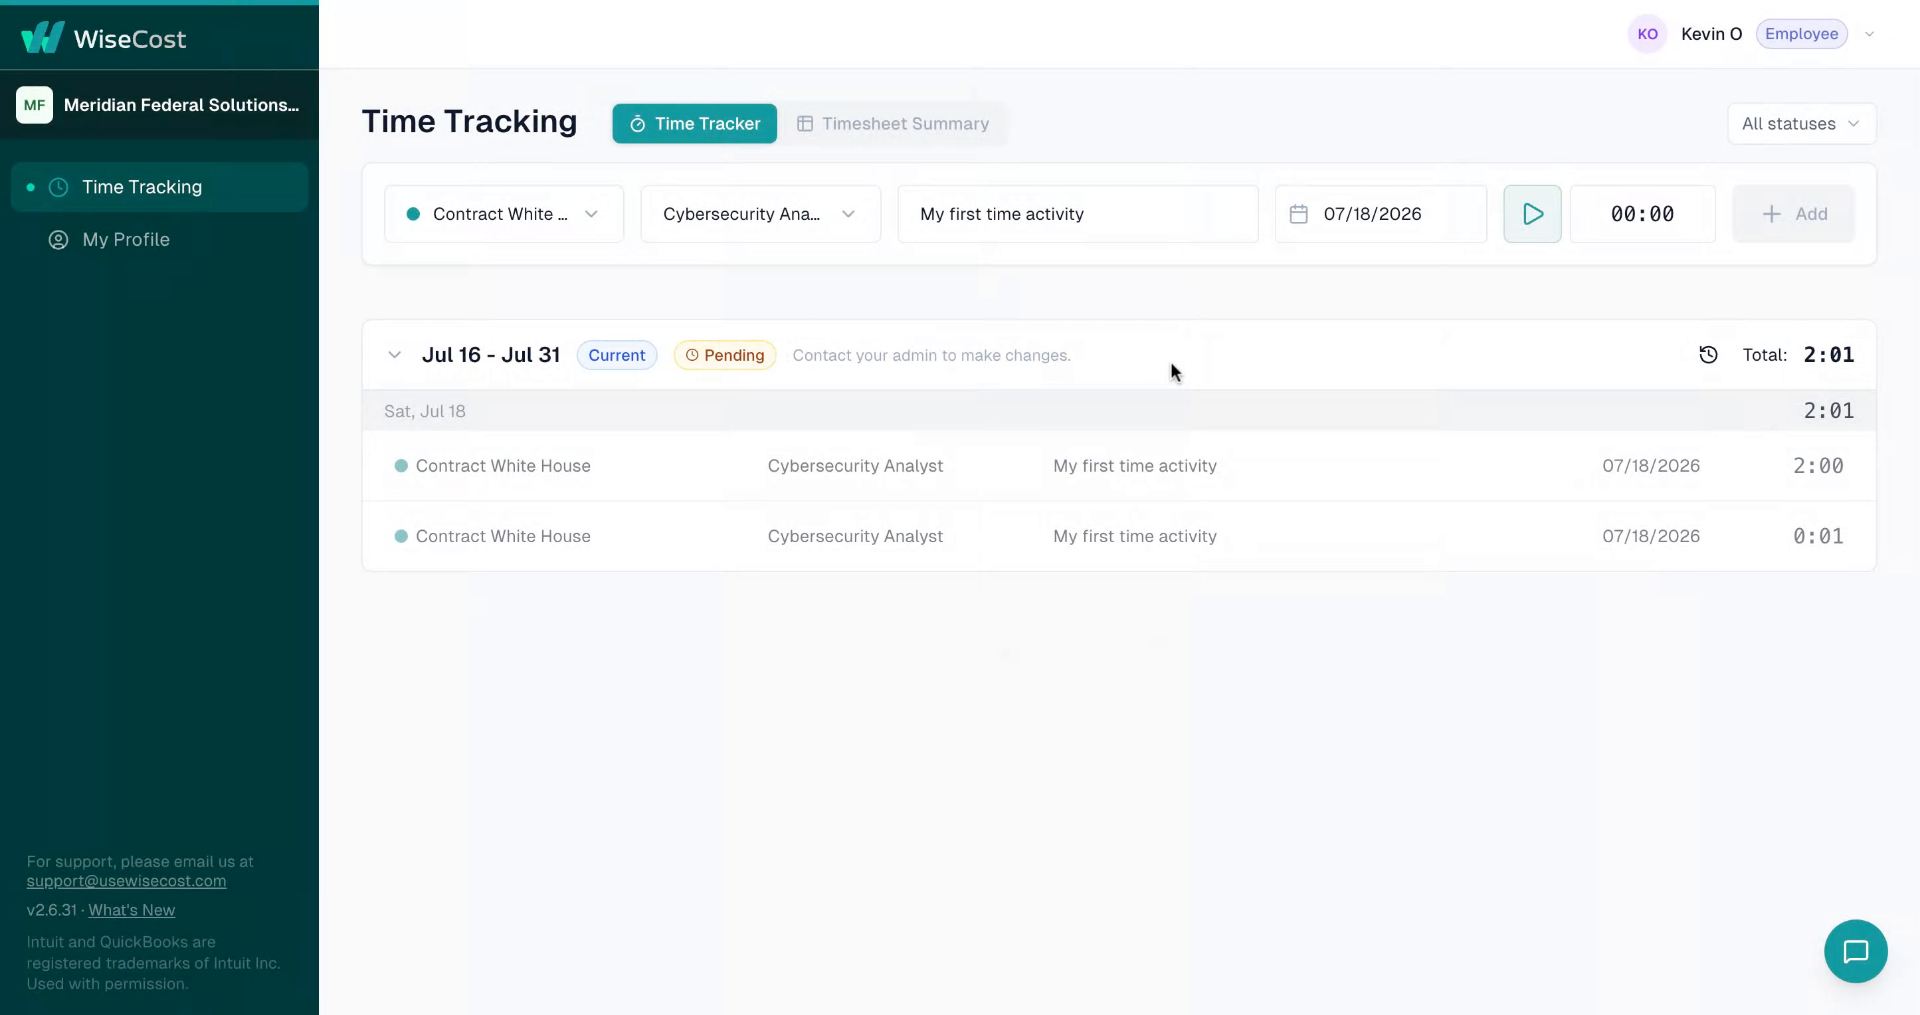
Your timesheet status changes to Pending. While it's Pending you can't edit your entries. Your supervisor will either approve it or reject it with comments.
If it comes back rejected, don't worry. Fixing it takes a minute. That's the next step: Fixing a rejected timesheet.